
Absolutely! You can definitely refinish just the top surface of your dining table without touching the legs, base, or apron. This is a common and practical approach, especially when the tabletop shows significant wear and tear from daily use (think scratches, water rings, heat marks), while the legs and base remain in good condition. It’s a fantastic way to breathe new life into your dining set without committing to a full-scale refinishing project. Call us today to get a quote or schedule your tabletop refinishing—your table deserves a fresh start!
Yes, You Can Refinish Just the Table Top!
Refinishing only the dining table top is a popular choice for homeowners across the USA looking for a targeted furniture fix. Whether your table has a pedestal base, traditional legs, or a modern trestle, focusing solely on the surface is often feasible. This approach allows you to address the most visible and frequently damaged part of the table, transforming its appearance efficiently. It’s a smart solution if you love the style of your table’s base or if it perfectly matches your existing dining chairs or buffet, and you simply need to refresh the workhorse surface. Homeowners often choose top-only refinishing for precise damage repair where scratches, stains, and wear are most visible.
The Benefits of Refinishing Only the Top
Choosing to update just the tabletop offers several compelling advantages:
- Cost Savings: Refinishing only the top requires less material (sandpaper, stain, sealant) and significantly less labor compared to refinishing the entire piece. This makes it a much more budget-friendly option.
- Time Efficiency: Focusing on the flat surface area means less intricate sanding and finishing work around legs, carvings, or other details. This speeds up the project considerably, getting your table back in use faster.
- Preserving Original Elements: If you cherish the original finish or patina on the table legs or base, or if they perfectly match other furniture pieces, refinishing only the top allows you to keep those elements intact.
- Targeted Repair: You concentrate your efforts on the area that needs it most – the high-wear surface that bears the brunt of daily meals, spills, and activities.
- Less Disruption: A smaller-scale project generally means less mess and less time your dining area is disrupted.
Challenges You Might Encounter
While refinishing only the top is beneficial, be aware of potential challenges:
- Achieving a Seamless Look: The biggest challenge is often matching the new finish on the top to the existing finish on the base/legs, especially if the original finish has aged or yellowed. Getting the stain color and sheen level just right requires care. Sometimes, opting for a complementary or contrasting finish can be easier than striving for an exact match.
- Protecting the Base/Legs: You’ll need to meticulously mask off and protect the parts of the table you aren’t refinishing. Sanding dust, stain drips, or sealant overspray can easily mar the untouched areas if you aren’t careful.
- Dealing with Veneer: If your tabletop is veneer, sanding requires extra caution. Sanding through the thin veneer layer can permanently structural damage the table. Identifying whether you have solid wood or veneer is crucial before starting.
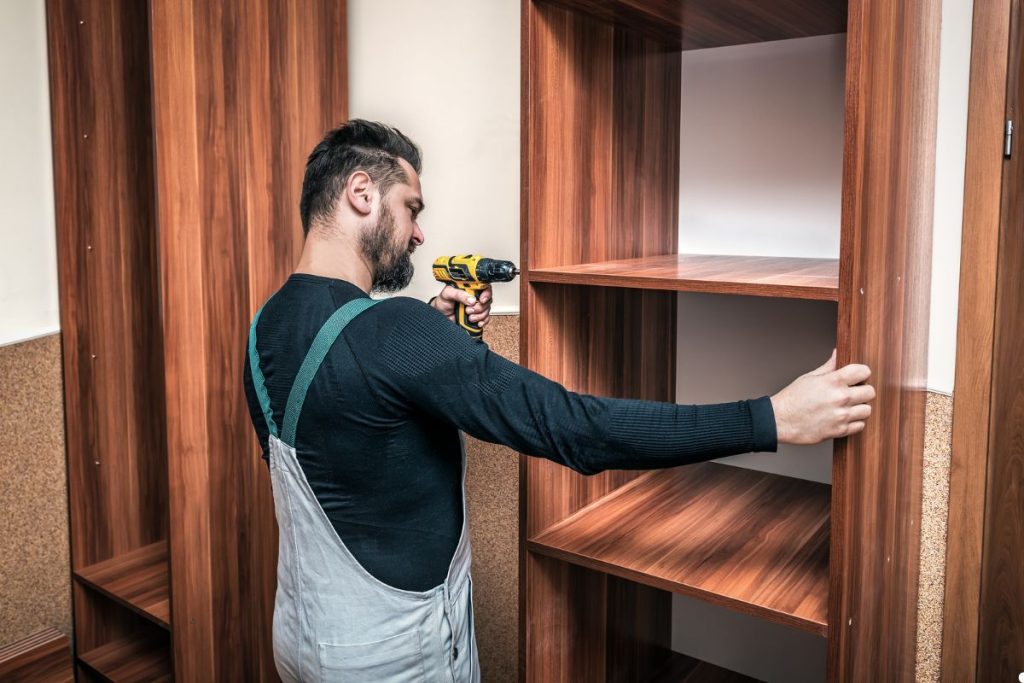
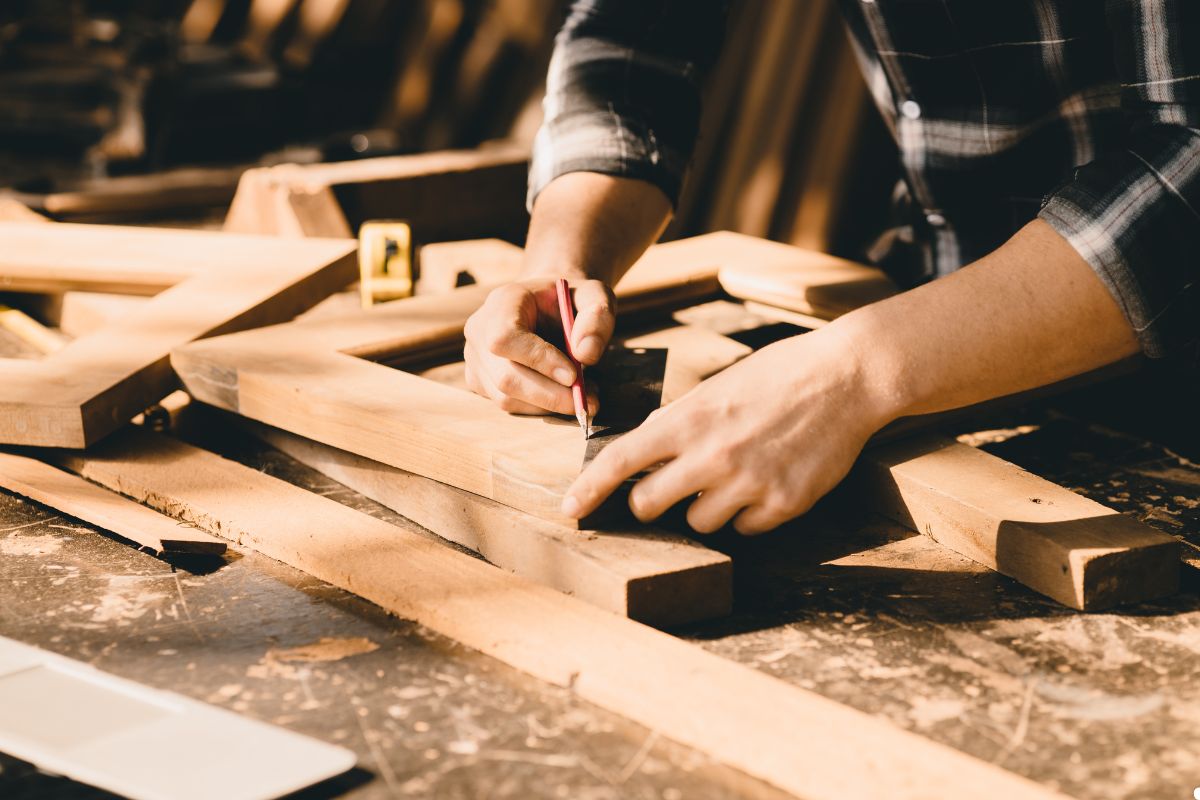
How to Refinish Your Dining Table Top (Without the Base)
Ready to tackle the project? Here’s a general step-by-step guide:
- Preparation: Clean the tabletop thoroughly. Use painter’s tape and plastic sheeting or rosin paper to completely cover and protect the table legs, apron, and base. Ensure the tape provides a clean, sharp edge where the top meets the apron.
- Stripping (If Necessary): If the old finish is thick or painted, you might need to use a chemical stripper first. Follow the manufacturer’s instructions carefully in a well-ventilated area.
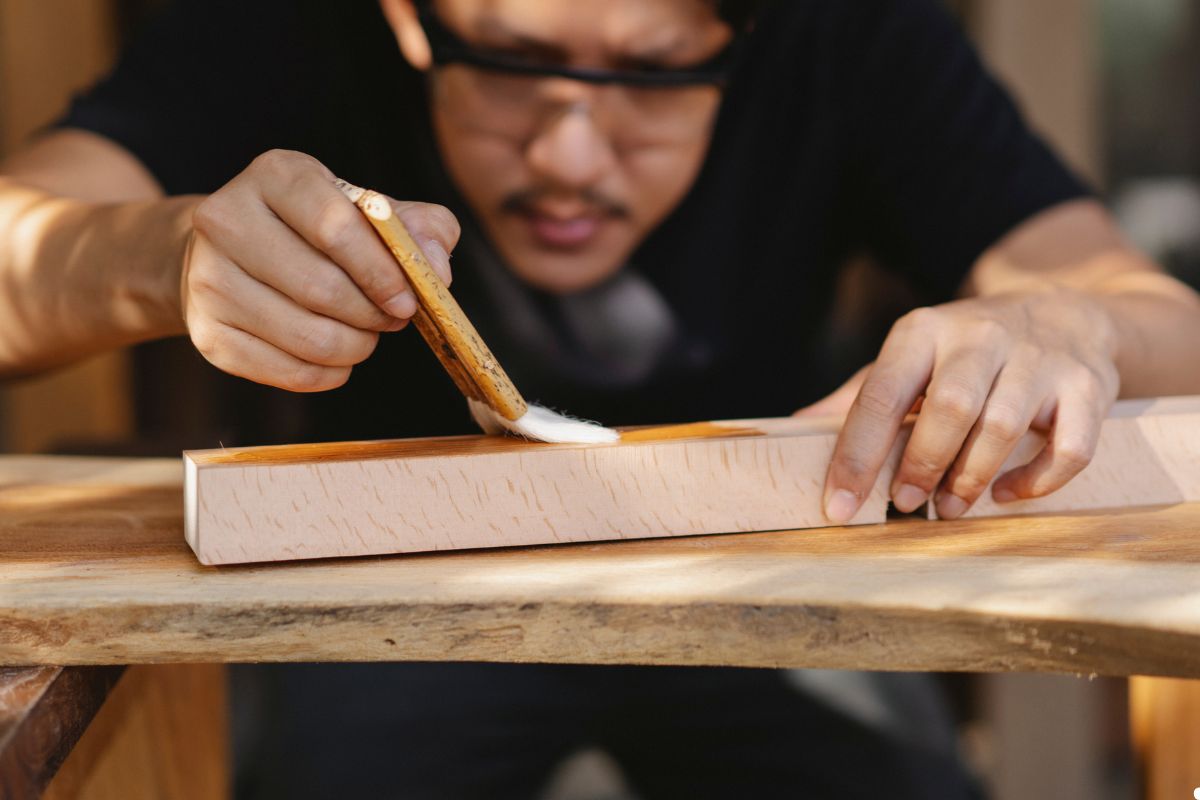
- Sanding: Start with medium-grit sandpaper (like 120 grit) to remove the old finish and smooth out imperfections. Progress to finer grits (180 or 220 grit) for a silky-smooth surface. Always sand with the grain of the wood. Vacuum up all dust and wipe with a tack cloth.
- Staining or Painting: Apply your chosen wood stain or paint according to the product directions. Use even strokes, working with the grain. Apply multiple thin coats if needed for desired color depth, allowing proper drying time between coats. Carefully wipe away any excess stain.
- Sealing/Top Coat: Once the stain or paint is fully cured, apply a durable top coat (like polyurethane or varnish) to protect the surface. Apply several thin coats, sanding lightly with very fine-grit sandpaper (320 grit or higher) between coats (but not after the final coat). Choose a sheen (matte, satin, semi-gloss, gloss) that you prefer and that ideally complements the base.
What About Matching Chairs and Buffet?
A common concern is whether the newly refinished tabletop will still look cohesive with matching dining chairs or a buffet. Here are a few approaches:
- Aim for a Close Match: If the base/legs still match the chairs/buffet, you can try to match the new top finish closely to the original top’s color. This maintains the set’s intended look.
- Complementary Tones: Choose a stain for the top that complements the existing wood tones. For example, a slightly darker or lighter shade within the same color family can look intentional and sophisticated.
- Intentional Contrast: Embrace contrast! A popular modern look involves painting the table base (or leaving it as is if it contrasts already) and staining the top a rich wood tone, or vice-versa. A dark base with a light natural wood top, or a stained base with a painted top, can create a stylish statement that still works with existing pieces.
When to Call a Professional Refinisher
While DIY is possible, there are times when calling a professional furniture refinishing service is the better choice:
- Valuable or Antique Furniture: Don’t risk damaging irreplaceable pieces. Professionals have the expertise to handle delicate antiques and valuable furniture appropriately.
- Significant Damage: Deep gouges, burns, warping, or extensive veneer damage often require specialized repair techniques and tools.
- Lack of Time, Tools, or Space: Refinishing requires dedicated time, proper tools (sanders, brushes, safety gear), and a well-ventilated workspace free from dust.
- Desire for a Perfect Match or Finish: Achieving a truly flawless, factory-like finish or a perfect color match can be challenging. Professionals have access to better materials and techniques.
- Complex Designs: Tables with intricate inlays, detailed edges, or extendable leaves can be trickier to refinish evenly. Reupholster fabric seating first, then refinish the table to ensure a cohesive look across all furniture elements.
Refresh Your Dining Space: Top-Only Refinishing Works!
Refinishing just your dining table top is an effective and efficient way to dramatically improve its appearance and usability. It addresses the most common wear issues while saving time, money, and potentially preserving the character of the table’s base and matching furniture. By carefully preparing, sanding, finishing, and sealing, you can achieve a beautiful result that revitalizes your entire dining area. Ready to give your dining table a fresh new look? Contact us today to transform your tabletop with expert refinishing!
Frequently Asked Questions
How do I protect the table legs and base while working?
Use high-quality painter’s tape for clean lines where the top meets the apron/base. Cover the legs and entire base thoroughly with plastic sheeting or rosin paper, securing it well with tape to prevent any dust or finish from getting on them.
What if I can’t find an exact match for the stain/paint?
Consider a complementary or contrasting color. Test stains on an inconspicuous area (like the underside if possible, or a scrap piece of the same wood). You can also mix stains or consult with paint store specialists. Sometimes, a slight, intentional difference looks better than a near-miss match.
Can I paint the top instead of staining it?
Yes! Painting the tabletop is a great option, especially for creating a bold contrast or covering heavily damaged wood that might be difficult to stain evenly. Ensure you use durable paint suitable for furniture and finish with a strong top coat for protection.
How long does this process typically take?
It depends on the table size, condition, and drying times for products. Actively working might take 6–10 hours spread over a weekend. However, you must account for drying/curing times between steps (stripping, staining, sealing), which can mean the project stretches over several days to a week before the table is fully usable. Call us today to discuss your project timeline and get expert guidance!